How to Repair Leather Seats and Keep Them Looking New
Car upholstery damage can be even more unsightly than a nasty exterior dent or scratch. Here's how to repair leather seats, with tips to keep them fresh-looking for the long haul.
 Apr 8, 2022 | 5 min read
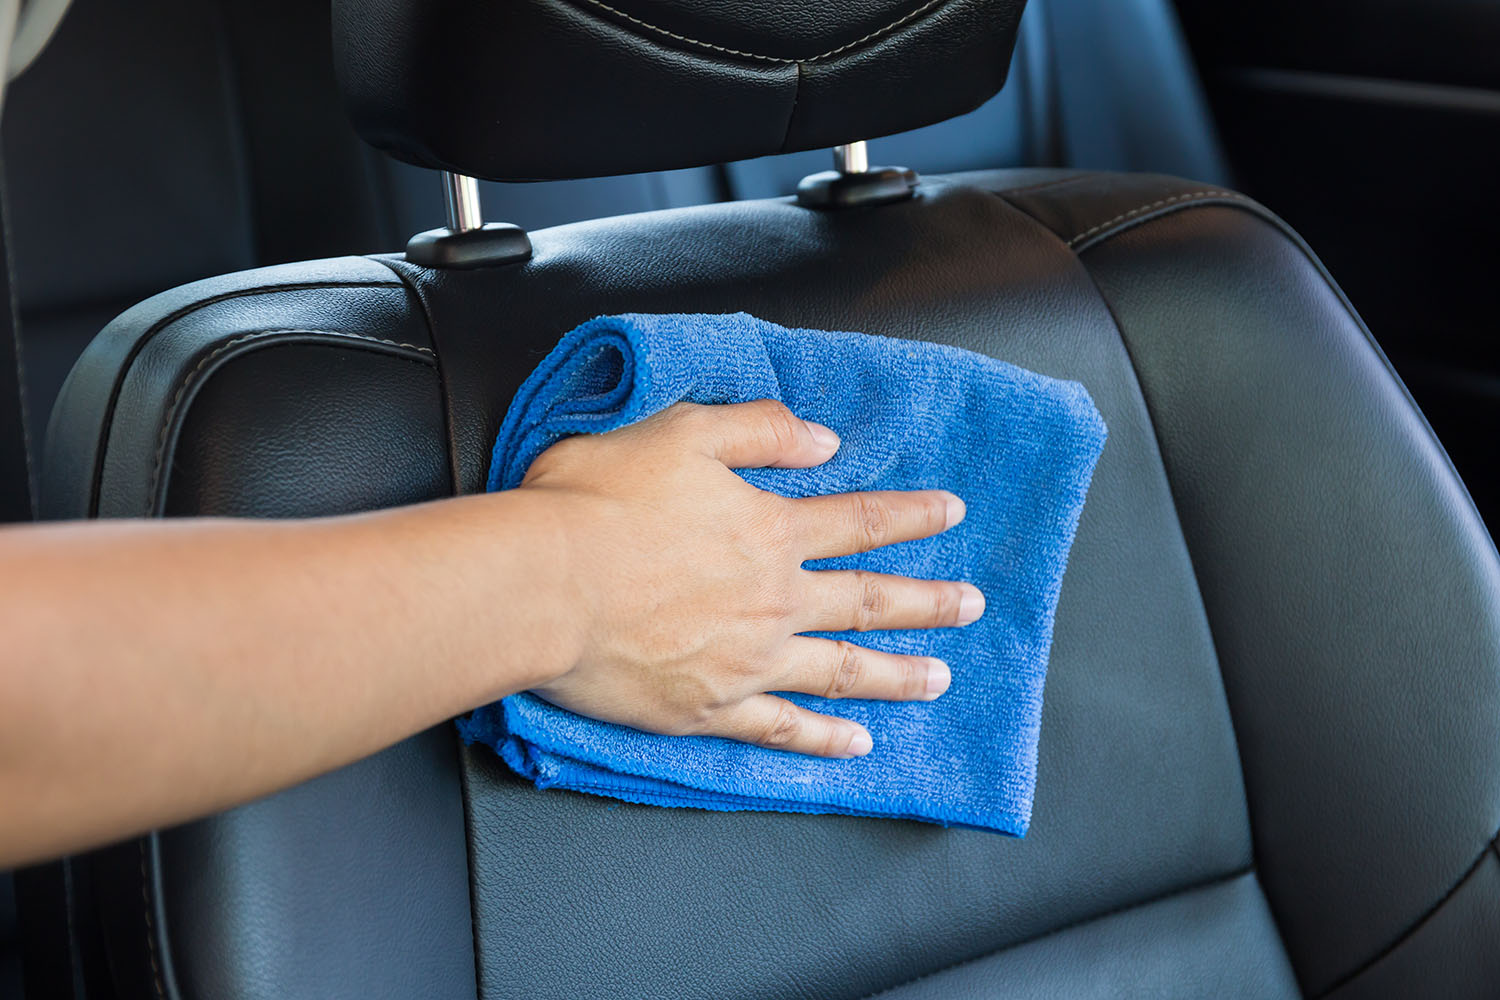 Shutterstock
Leather seats are beautiful and luxurious, but they need proper care to stay that way. Despite your best efforts, they might become damaged. That's not great news, but depending on the type of damage, you may be able to repair them. Here's how to repair leather seats, with some tips thrown in to keep them looking new for many years.
How to Repair Leather Seats: Knowing When to Seek Expert Help
Leather seats are expensive, and you paid a premium to have them in your car. You can try to repair the damage yourself, but there's always the chance you could make it worse. If you're uncertain how to repair your leather seats, then seek out a professional's help. They can assess the issue and let you know what options are available. If that's not feasible or if you want to give "do it yourself" a try, follow the steps below to attempt repairs on your own.
How to Repair Leather Seats: Mending Ripped Upholstery
If you see a rip in the leather surfaces in your car, don't panic. You can take steps to repair the damage. Leather repair kits are widely available and easy to use. They generally consist of a paste, fabric backing, applicator, a mixing tool, and several colors you can blend to match your leather.
Start by making sure the surface around the rip is clean. Next, follow the directions on the box. They'll involve applying the paste to the damaged area and letting it cure to create a patch. This process works on smaller rips that are no more than a few inches in length or width. Anything larger requires professional help.
How to Repair Leather Seats: Removing Stains
Wiping up any spills as soon as they happen can help prevent stains, but every now and then something will go unnoticed and leave a mark on the leather. Look for a stain removal product designed for leather seats. Before you apply the solution, test it somewhere inconspicuous so you can be sure it won't cause its own damage or discoloration. Make sure the surface around the stain is clean and dry, then follow the directions on the box to remove the stain.
It's important to be gentle when applying any kind of stain remover. Don't rub aggressively or use a stiff-bristled brush. Instead, dab the surface lightly with a soft cloth to keep from damaging the nap of the leather. Once the stain is gone and the surface is completely dry, a quick buff with a clean cloth can help lift the nap back up to match the surrounding leather areas.
How to Repair Leather Seats: Reducing Deep Creases
Unfortunately, creases can't always be removed, but they can be treated to reduce their appearance and keep them from getting deeper and possibly turning into cracks or tears. Start by using a leather cleaner to spruce all the leather surfaces in your car. Let the leather dry thoroughly after cleaning, then apply a leather conditioner per the package's instructions.
You should then continue to apply conditioner at regular intervals. This will help keep the leather protected from damaging elements, including the sun and moisture. It will also keep the leather more supple, so, instead of cracking, it can stretch and flex. Regularly conditioning your leather seats will also help keep additional cracks from forming.
Preventing Damage
Once you've repaired your leather seats, take care of them properly to avoid future damage. Clean and condition the leather regularly. Wipe any spills as quickly as possible, and don't delay in treating any stains that may appear. You should also address small rips quickly, rather than waiting for them to become larger issues. Also, use caution if you're loading items into the car so as not to tear or scrape seating surfaces. The following are more ways and specifics to properly care for your leather seats.
Remove Surface Dirt
Start by removing any surface dirt on your seats with a lint-free cloth. You do not want to use anything with stiff bristles that could damage the leather. Make sure you get into the cracks and crevices by reclining the seat fully to expose all the leather surfaces.
If there's a significant buildup of crumbs or dirt, leather seats can be vacuumed, but only if you use a hose attachment with a soft bristle brush. Avoid using anything rough that could scratch or otherwise damage the surface.
Treat Stains
Stains need special attention, but you can't simply use any old cleaning agent. Many are too abrasive and could create a new stain that's worse than the one you were trying to remove in the first place. If possible, inquire with the manufacturer to see if they recommend a specific product.
Before you apply a chemical solution to the stain, test it in an inconspicuous spot to be sure it won't leave a mark. Only then should you treat any stains. Go easy in your efforts, rather than scrubbing aggressively and risking damage. Gentleness is key when cleaning leather seats.
Do a Full Cleaning
Again, it's key to use a cleaning agent designed for leather seats. You should still test the cleaner before you apply it to any of the leather surfaces in your car. As long as your test spot causes no damage, go ahead and get to cleaning everything leather. A full clean includes the seats, armrests, dashboard, and any other areas in your car that are leather-wrapped.
Wipe Off the Seats Thoroughly
Once you've cleaned all the leather surfaces in your car, make sure you wipe them down thoroughly. Use a clean, damp cloth to wipe everything down on your first pass. Then, make a second pass using a clean, dry cloth to remove excess moisture. Pay special attention to seams and any areas with stitching, which tend to collect water.
When you're cleaning leather, it's important to remove all of the cleaning product when you're done. Left to sit indefinitely, it could cause damage from discoloration to wear. Once you're done, let your seats dry thoroughly in a shady, well-ventilated area before you drive. Taking the time to properly care for your car's leather will help keep it looking as beautiful as the day your car was new.
Written by humans.
Edited by humans.
Nicole WakelinI write about cars. A lot. That's because I’ve always loved cars and the fact that they regularly hand me the keys to shiny new automobiles so I can write about them is a constant source of amazement. I cover breaking news, write reviews, and attend auto shows and new vehicle launches across the country. The more winding the road and the more unknown the route, the better.
Related articles
View more related articles