How to Change a Spark Plug
Step-by-step removal and installation advice for this common DIY job.
 Aug 11, 2022 | 3 min read
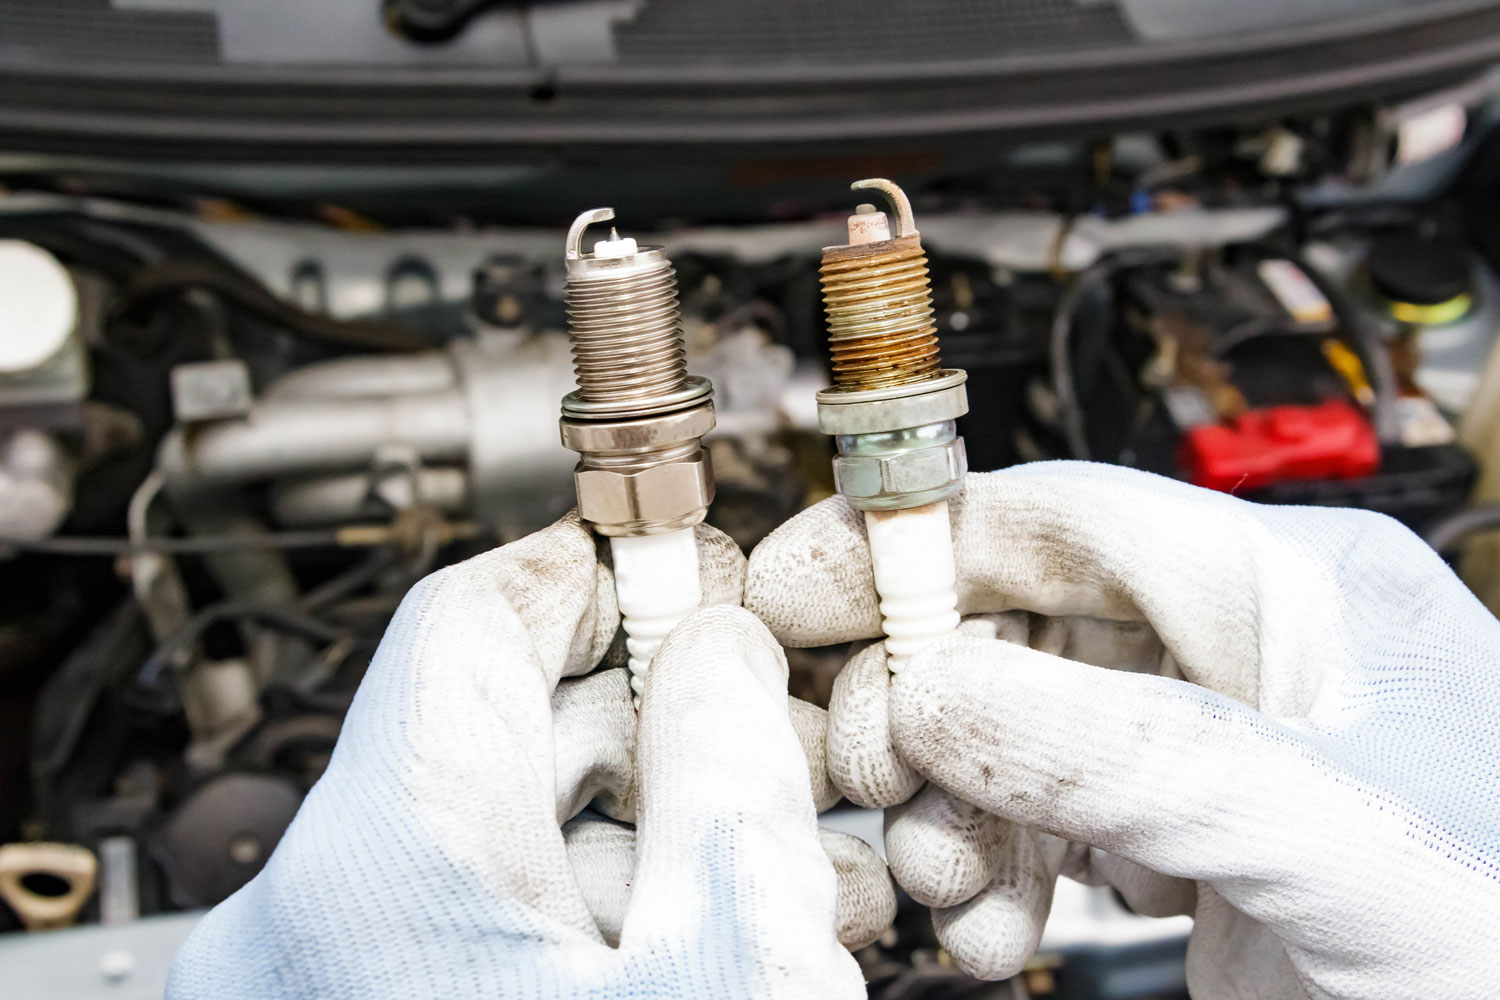 Shutterstock
It’s a good idea to regularly change your spark plugs according to the maintenance schedule in your owner’s manual. But if your vehicle is misfiring, losing power, or using more fuel than normal, your spark plugs might need to be changed earlier than expected.
If you don’t have time to go to a professional, or want to tackle this simple DIY job at home, here’s how to change a spark plug.
1. Gather the Necessary Tools
Changing a spark plug requires at least the following tools:
- A special socket that is deep enough to accommodate the plug
- An interior rubber gasket that protects the tip of the plug from damage
- A spark-plug gapping tool to check the spacing between the electrode and the ground strap against your vehicle’s specifications
The most common spark plug socket sizes are 5/8 inch and 13/16 inch.
2. Make Sure the Engine Is Cold
A hot engine can burn your skin. On top of that, changing a spark plug with a warm engine head can damage the threads that hold it in place.
3. Disconnect the Battery
When working on any aspect of an engine’s electrical system, it’s always a good idea to disconnect the battery terminals to prevent accidental short circuits.
4. Remove Spark-Plug Wires or Coil-On-Plug Connectors
Older vehicles use spark-plug wires that connect them to the ignition system. Many newer models rely on a coil-on-plug design, which gives each individual spark plug its own ignition coil. Regardless of the design on your vehicle, each must be removed prior to replacing your spark plugs.
Spark-plug wires are removed with a simple straight-up pulling motion, holding on to the boot that slips over the plug itself. Remember to label each wire to keep them in the correct order for reinstallation. Coil-on-plug connectors often feature a locking tab that you may have to depress with a screwdriver in order to release before you’re able to pull the connectors off—be sure to label them carefully for reinstallation.
5. Remove Spark Plug With Socket
Fit the spark-plug socket over the protruding plug and gently unscrew it from the engine using a counter-clockwise motion. Too much force can crack the plug and cause pieces to fall into the engine. Do your best to ensure no debris enters the spark-plug hole when you lift it out.
6. Examine the Spark Plug
By determining the condition of the spark plug you’re changing out, you can gain insight into how your engine is performing and help diagnose any potential problems. Champion Auto has a
7. Install New Spark Plug
Thread a new spark plug into the cavity where you removed the old one, being careful not to cross-thread or force in the plug. Screw it in until finger tight, then use your socket to give it another half-turn. With most brands of spark plugs, rubbing a little anti-seize lubricant on the threads can help ensure that the spark plugs will be easy to remove the next time.
8. Reattach Wires / Coil-On-Plug Connectors / Battery
Wrap up your installation by reinstalling the vehicle’s spark-plug wires or coil-on-plug connectors in the correct order, and then reconnect the battery.
Written by humans.
Edited by humans.
Benjamin HuntingBenjamin Hunting is a writer and podcast host who contributes to a number of newspapers, automotive magazines, and online publications. More than a decade into his career, he enjoys keeping the shiny side up during track days and always has one too many classic vehicle projects partially disassembled in his garage at any given time. Remember, if it's not leaking, it's probably empty.
Related articles
View more related articles